Learning how to light gas or charcoal tandoor safely isn't just about getting the oven hot — it's what stands between a normal cooking session and a genuine safety incident. Gas leaks, carbon monoxide buildup, and burn injuries are all real risks with any gas-fired tandoor, and solid-fuel or improperly vented units are the most common source of dangerous CO accumulation. Equipment without proper safety shutoff systems, or units that skip a pre-use leak check, are where most preventable accidents actually happen — and nearly every one of those incidents traces back to a step in this guide that got rushed or skipped entirely.
This guide walks through the full ignition process for CH and CS series tandoors step by step, from the pre-check before you even open the gas valve through the warm-up period that properly conditions the clay chamber. Whether you're running a single unit at home or lighting a tandoor in a commercial kitchen every night, the same fundamentals of safe tandoor ignition apply — what changes is the level of documentation and redundancy a commercial setting requires.
Pre-Check and Setup
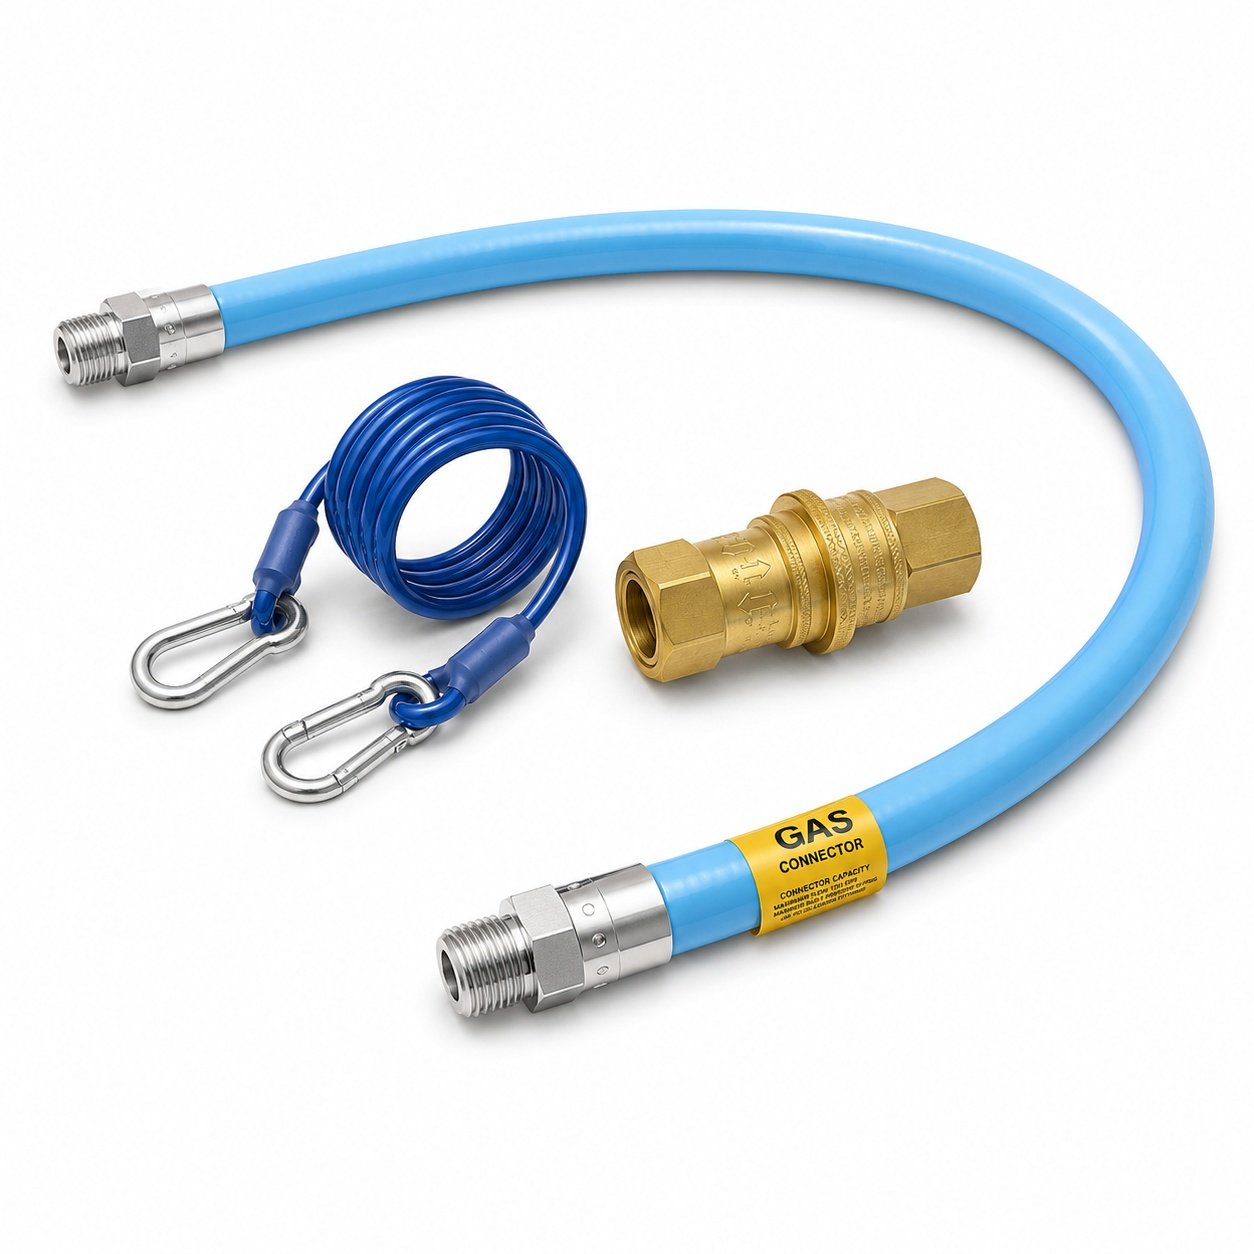
Before touching any valve, inspect the gas hoses and connections. Visually check every hose and fitting for cracks, nicks, or visible wear. If anything looks compromised, replace it before proceeding — a damaged hose is not something to work around, even for a single cooking session.
Position and Clearance
Keep the tandoor at least 6 inches (15 centimeters) from any combustible material — walls, wood surfaces, curtains, and similar items all count. For indoor units, proper ventilation or a dedicated exhaust hood is essential, not optional. Before every single use, run a leak test: mix a 50/50 soap-and-water solution, brush it onto every connection point, then turn on the main valve while keeping the burner off. Bubbles at any connection mean a leak. If you see any, shut off the gas immediately and call a technician rather than attempting to light the unit.
How to Light gas or charcoal Tandoor Safely: The Step-by-Step Procedure
Once the pre-check and leak test are clear, follow this sequence exactly. Skipping steps or reordering them is where most ignition mistakes happen.
Step 1: Remove the Lid
Take off the tandoor lid and any covers before lighting. Never attempt ignition with the chamber sealed.
Step 2: Open the Main Gas Valve
Turn on the main gas feed to the unit.
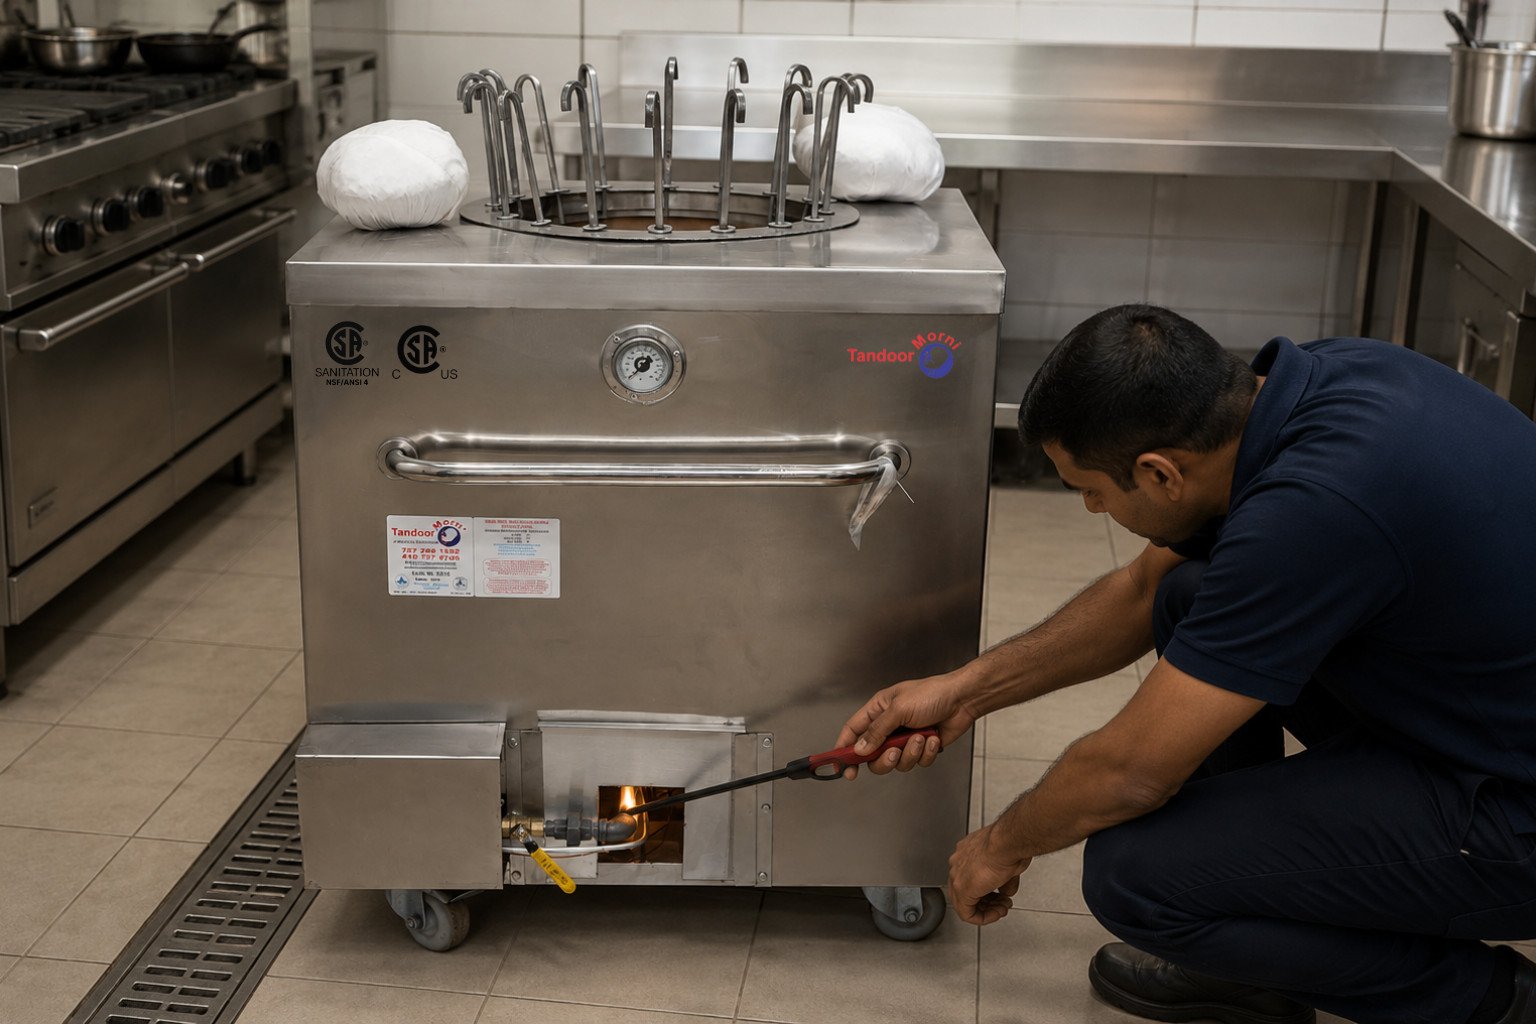
Step 3: Start the Pilot
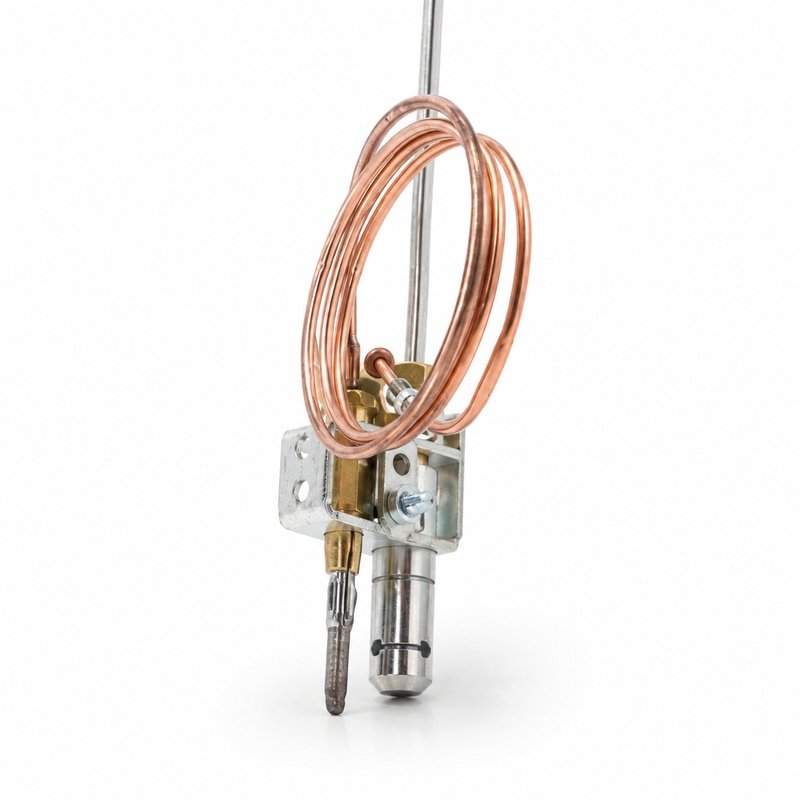
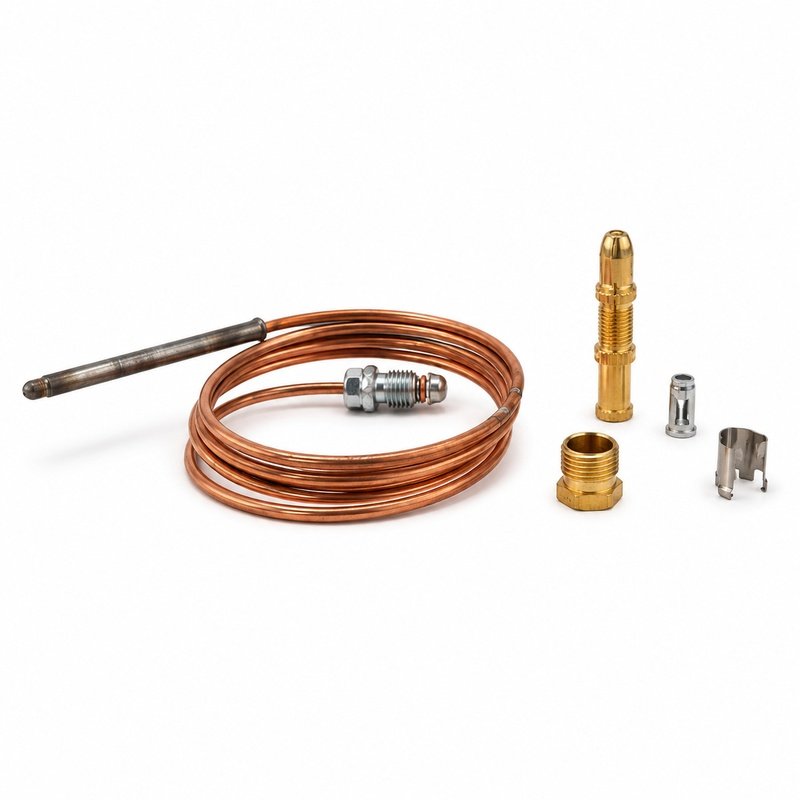
Press and hold the red safety valve button, then ignite the pilot. Hold the button continuously for approximately 2 minutes to let the gas tandoor pilot assembly establish proper flow and ignition. Releasing the button too early is one of the most common reasons a pilot won't stay lit.
Step 4: Light the Main Burner
Slowly open the front gas valve. The main burner should ignite quietly with a steady blue flame. If the flame looks yellow, small, or smoky, shut it off immediately and call a qualified technician — that flame color indicates incomplete combustion, which is exactly the condition that produces dangerous carbon monoxide levels.
Step 5: Warm-Up and Seasoning
Condition the tandoor gradually to avoid thermal shock to the clay lining. Light a small flame and slowly increase heat over several hours rather than jumping straight to full temperature. Continue this gradual warm-up until the inner walls turn a clean white, which is the visual signal that the chamber is properly seasoned and ready for regular cooking use.
Safe Tandoor Ignition: Operational Safety Tips
A handful of habits separate safe tandoor ignition from a preventable incident, and they matter every single time you light the oven, not just during the first setup.
- Never lean over the tandoor while lighting it. Keep your body and face clear of the chamber opening during ignition.
- Don't fully cover the tandoor with the lid while flames are visible. Heat needs somewhere to escape to protect the gas components underneath — a fully sealed chamber with an active flame traps heat in ways the unit isn't designed for.
- Monitor flame quality throughout the cook. A yellow flame at any point, not just during initial ignition, is a signal to shut off and investigate.
- Keep the lid partially open during operation to vent heat properly while cooking.
- For a normal shutdown, turn off the yellow front gas valve, which extinguishes the main burner — the pilot can stay lit overnight if you're cooking again the next day.
- For a full shutdown, turn off the main gas valve, then the hose connection, in that order.
Maintenance That Supports Safe Ignition
Ignition safety and equipment maintenance are directly connected — a poorly maintained burner or corroded connector is far more likely to produce the exact yellow-flame, incomplete-combustion problem this guide warns about.
- Clean the burner twice a year with a brass brush to keep the gas tandoor pilot assembly and burner ports free of buildup.
- Wipe external surfaces daily to catch grease before it accumulates.
- Remove ash every few days rather than letting it build up inside the chamber.
- Inspect flexible connectors regularly and confirm burners and igniters stay free of corrosion or cracks.
Fire Safety Standards
Keep a fire extinguisher or sand nearby whenever the tandoor is in use, and never store flammable materials near the unit. Commercial kitchens should benchmark these basics against NFPA 96, the fire protection standard covering ventilation and fire suppression for commercial cooking equipment. These basics apply whether you're running a home tandoor occasionally or lighting a commercial tandoor multiple times a day.
Lighting a Commercial Tandoor: What's Different
A residential tandoor and a commercial unit share the same core ignition sequence, but lighting a commercial tandoor in a restaurant or catering setting adds requirements that a home kitchen doesn't need to think about.
- Installation and safety setup. Commercial units should be installed indoors under a proper ventilation hood, with certified technicians handling gas-connect plumbing using NSF/CSA-approved hoses. Daily leak tests at every fitting should be standard procedure, not an occasional check.
- Protective equipment. Keep a fire extinguisher nearby, use long-handled tools rather than reaching directly into the chamber, wear heat-resistant gloves, and keep flammable materials well away from the unit.
- Conditioning. Ignite the tandoor and gradually increase heat over 30 to 40 minutes. Once soot turns white on the interior walls, the unit is properly conditioned and ready for regular use.
- Preheating. Clear out ash and debris, verify venting holes are open, then preheat for 15 to 40 minutes while maintaining an internal temperature between 250 and 500 Degree Celsius (roughly 480 to 930 Degree Fahrenheit), depending on the fuel type.
These extra layers exist because a commercial kitchen is running the ignition sequence far more often, with more staff involved, which multiplies the chances of a shortcut becoming a habit. Documenting the procedure and training every staff member on it consistently is what keeps lighting a commercial tandoor as safe on a busy Friday night as it is during a quiet Tuesday lunch shift.
How Your Tandoor Model Affects the Ignition Process
The core steps stay the same across CH and CS series ovens, but chamber size and burner configuration change a few practical details. The Restaurant Tandoor Oven CH02 (32x32x37 inches) is built for continuous commercial service, so its pilot and burner components are sized to hold ignition reliably through frequent daily lighting cycles rather than the occasional weekend use a home unit might see. The Natural Gas Tandoor Oven CH04 (34x34x37 inches) runs on natural gas rather than propane, which means confirming your gas line pressure matches the unit's specifications is an extra pre-check step worth adding before the standard leak test described above.
For catering operations that need to move and set up quickly between events, the Round Catering Clay Tandoor Oven CS01 (24x37 inches) still requires the full pre-check and leak test at every new setup location, not just the first time the unit is used — a hose or fitting that traveled well between locations can still develop a connection issue that only shows up under a proper soap-and-water test.
Whichever model you're running — the Restaurant Tandoor Oven CH02, the Natural Gas Tandoor Oven CH04, or the Round Catering Clay Tandoor Oven CS01 — the fundamentals of how to light gas or charcoal tandoor safely don't change. What changes is how often you're running the sequence and how much redundancy that frequency justifies.
Common Mistakes When Lighting a Tandoor
A handful of shortcuts come up repeatedly, even among experienced operators, and each one increases risk in a different way.
- Skipping the leak test because "it worked fine last time." Connections degrade gradually and don't always announce themselves before a leak forms.
- Releasing the pilot button too early. Less than the full 2-minute hold often means the pilot won't stay lit, leading to repeated ignition attempts that increase the amount of unburned gas released into the chamber.
- Ignoring a yellow or smoky flame. This is a stop-and-investigate signal every time, not something to power through and hope resolves itself.
- Rushing the warm-up period. Jumping straight to full heat instead of a gradual seasoning warm-up risks thermal shock to the clay lining, which shortens the oven's lifespan.
- Sealing the lid fully while flames are active. This traps heat against gas components that aren't designed for it and increases wear over time.
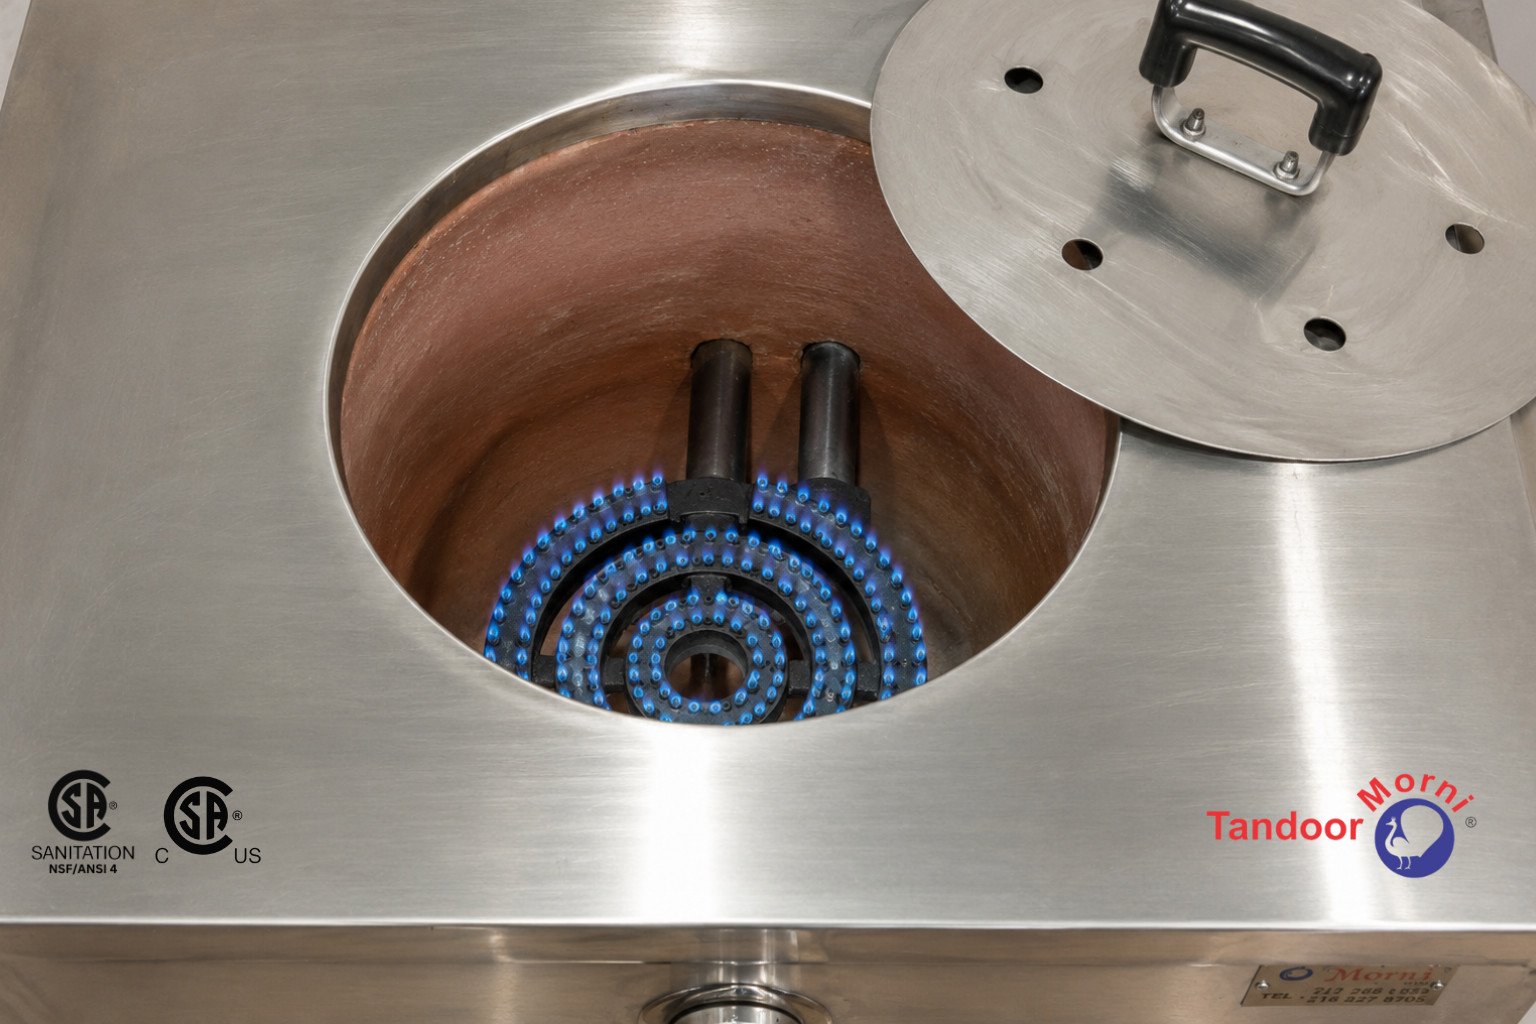
A steady blue flame confirms complete combustion — the visual check worth making throughout the cook, not just at ignition.
Why Carbon Monoxide Risk Is a Real Concern
It's worth understanding exactly why this guide treats flame color and ventilation so seriously. Carbon monoxide is produced whenever fuel burns without enough oxygen to combust completely — that's the same incomplete combustion a yellow, smoky flame signals. The CPSC's carbon monoxide fact sheet is a useful reference here: because CO is colorless and odorless, there's no natural warning sign beyond the visual cues this guide walks through — flame color, proper ventilation, and a chamber that isn't fully sealed while burning. This is exactly why learning how to light gas or charcoal tandoor safely matters as much for indoor commercial kitchens as it does for backyard setups, and why a ventilation hood isn't a nice-to-have for indoor installation — it's a genuine safety requirement.
Solid-fuel tandoors and any gas unit that isn't properly vented are the most common sources of dangerous CO buildup in enclosed kitchens. Pairing correct ignition technique with adequate ventilation is what actually closes that risk gap, rather than relying on either one alone.
Troubleshooting Common Ignition Problems
A few issues come up often enough during ignition that it's worth knowing how to read them before assuming something is broken.
- Pilot won't stay lit. Confirm you're holding the safety valve button for the full 2 minutes. If it still won't hold after several attempts, the gas tandoor pilot assembly itself may need inspection.
- Flame ignites yellow instead of blue. This usually points to a ventilation issue or a burner in need of cleaning rather than a fuel supply problem — shut it off and don't attempt to keep using it until the cause is identified.
- Strong gas smell before ignition. Stop immediately, don't attempt to light the unit, ventilate the area, and check for leaks with the soap-and-water test once it's safe to do so.
- Burner ignites unevenly across the ring. This is typically a sign of clogged burner ports rather than an ignition problem specifically — a burner cleaning usually resolves it.
None of these issues are reasons to work around the problem and continue cooking. Every one of them is a signal to pause, diagnose, and resolve the underlying cause before returning to safe tandoor ignition procedure.
Training Staff on Safe Ignition Procedure
For any kitchen where more than one person lights the tandoor, consistency matters as much as the procedure itself. A written checklist covering the pre-check, leak test, and full lighting sequence keeps every staff member following the same steps regardless of experience level or shift. New hires should shadow an experienced operator through several full ignition cycles before doing it unsupervised, and periodic refreshers help prevent shortcuts from creeping in over time as the routine becomes familiar.
This kind of documentation is especially valuable for lighting a commercial tandoor, where turnover and multiple shifts mean the person lighting the oven tonight may not be the same person who was trained on it originally. A simple laminated checklist near the unit, reinforced by initial hands-on training, closes that gap far more reliably than relying on verbal instructions passed between staff.
Frequently Asked Questions
What's the most important safety step before lighting a tandoor?
Why does the flame color matter so much when lighting a tandoor?
How long should I hold the pilot button when lighting the tandoor?
Does lighting a commercial tandoor require different steps than a home unit?
How do I know when the tandoor is properly seasoned and ready for regular use?
What should I do if my pilot assembly won't stay lit?
Final Thoughts on Lighting Your Tandoor Safely
Learning how to light gas or charcoal tandoor safely protects more than the equipment — it protects the people using it and everyone nearby. Every step in this guide exists because it addresses a specific, real failure mode: leaks caught before ignition, flame color monitored throughout the cook, gradual seasoning that avoids thermal shock, and a clear shutdown sequence every time. None of it is complicated, but skipping any single step is exactly how preventable incidents happen. Choosing equipment built to a certified standard, and following the same safe tandoor ignition procedure every time you light it, is what keeps a tandoor operation efficient, compliant, and genuinely safe over years of use, whether that's a single home unit or a full commercial kitchen lighting the oven every day of service.
Have questions about ignition procedure or need a replacement pilot assembly? Call us at +1 (727) 251-6924 or email info@tandoormorni.com, and our team can help. Certified ovens and accessories are also available through flexible financing options, and our Operation Manual covers full setup and ignition instructions in more detail for CH and CS series ovens.